
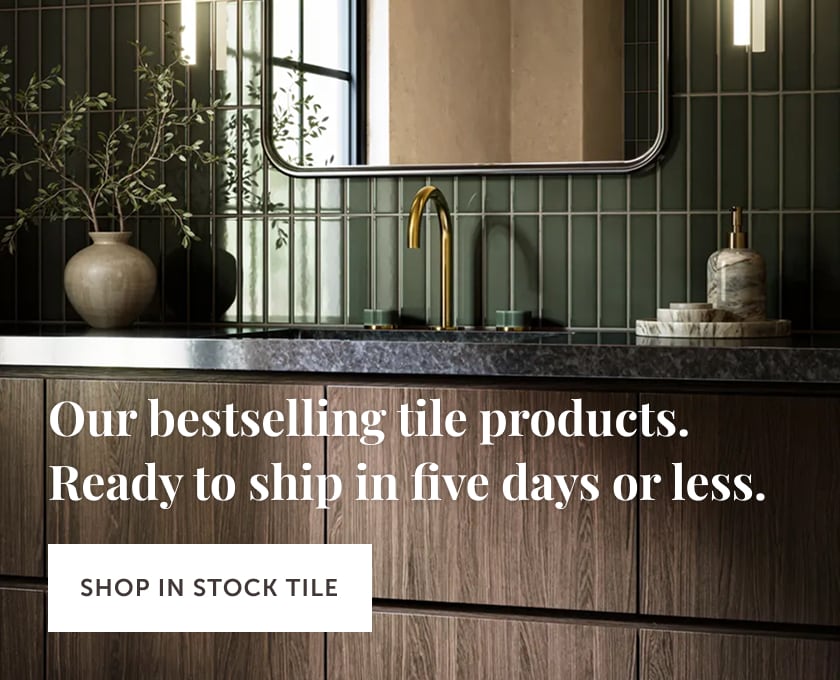


Wall tile installation isn't just a home improvement project – it's an investment in the soul of your space. Whether you're dreaming of a serene bathroom sanctuary or a kitchen that wows, the way your tile is installed can make or break the final look.
Today on the blog we’re explaining how to install wall tile with a step-by-step guide so you can have the installation of your dreams. But before we dive in, let’s explore your wall tile options and get insights from our very own installation expert Martin Brookes.
Tips From Our Director of Installation
With decades of experience in the tile industry, Martin Brookes, our Director of Installation, has seen it all. From intricate murals to sleek accents, he's guided countless installations to picture-perfect completion. His expertise is unparalleled, making him the ultimate authority on all things installation. Because at Fireclay, we're not just passionate about crafting beautiful, sustainable tile – we're equally committed to ensuring it's installed flawlessly.
Our in-house Installation Team, led by Martin and available in select California areas, brings years of experience and an unwavering dedication to quality. With this high-performance service, you get so much more than just expert tile setting. We’ll take care of the entire process, from creating realistic design renderings to providing an industry-best installation protection warranty that covers replacement and reimbursement up to 2 times the order value. We can even facilitate permits and inspections and our installers will also remove and dispose of any existing tile, so you don’t have to lift a finger.
We sat down with Martin to glean some of his best insider tips about installing wall tile, gleaned from years of firsthand experience. Here's what he had to say about common tiling pitfalls, tackling tricky cuts, and achieving a truly professional grouting finish.
What are the biggest mistakes you see DIYers make when installing wall tile?
"Often, it's the things people don't think about that cause the biggest headaches. For instance, many DIYers overlook the importance of proper surface preparation. This includes checking for damage, ensuring plumbness, and achieving a clean surface free of bond breakers."
- Damage: Inspect for any cracks, holes, or unevenness in the substrate. Repair or replace damaged sections before tiling.
- Plumbness: Ensure the walls are perfectly vertical. Out-of-plumb surfaces will result in uneven tile lines.
- Cleanliness: The surface must be free of dust, grease, and any other contaminants that can hinder adhesion.
- Bond Breakers: Substances like paint, wax, or sealant can prevent the adhesive from bonding properly. Remove or treat these before tiling.
"Other crucial considerations are often missed too," Martin adds. "Outlet placement and having trim pieces on hand during the layout phase are essential for a professional finish. And of course, a well-planned layout is key to a visually appealing result. Pay close attention to corner cuts and focal point alignment."
- Outlet Placement: Verify the position of electrical outlets, plumbing fixtures, and other obstacles before making any tile cuts. This ensures accurate cuts and a clean finish.
- Trim Pieces: Have your trim pieces on hand during the layout phase. This allows you to plan your cuts so the trim completely covers the edges of the cut tiles. Failing to do this may require removing and reinstalling tiles to achieve a professional look.
-
Layout is Key: Even with perfect surface preparation, a poor layout can ruin the aesthetics. Pay close attention to:
- Corner Cuts: Strive for symmetrical and balanced cuts in corners.
- Focal Point Alignment: Center the tile layout around focal points like extractor fans or windows for visual appeal.

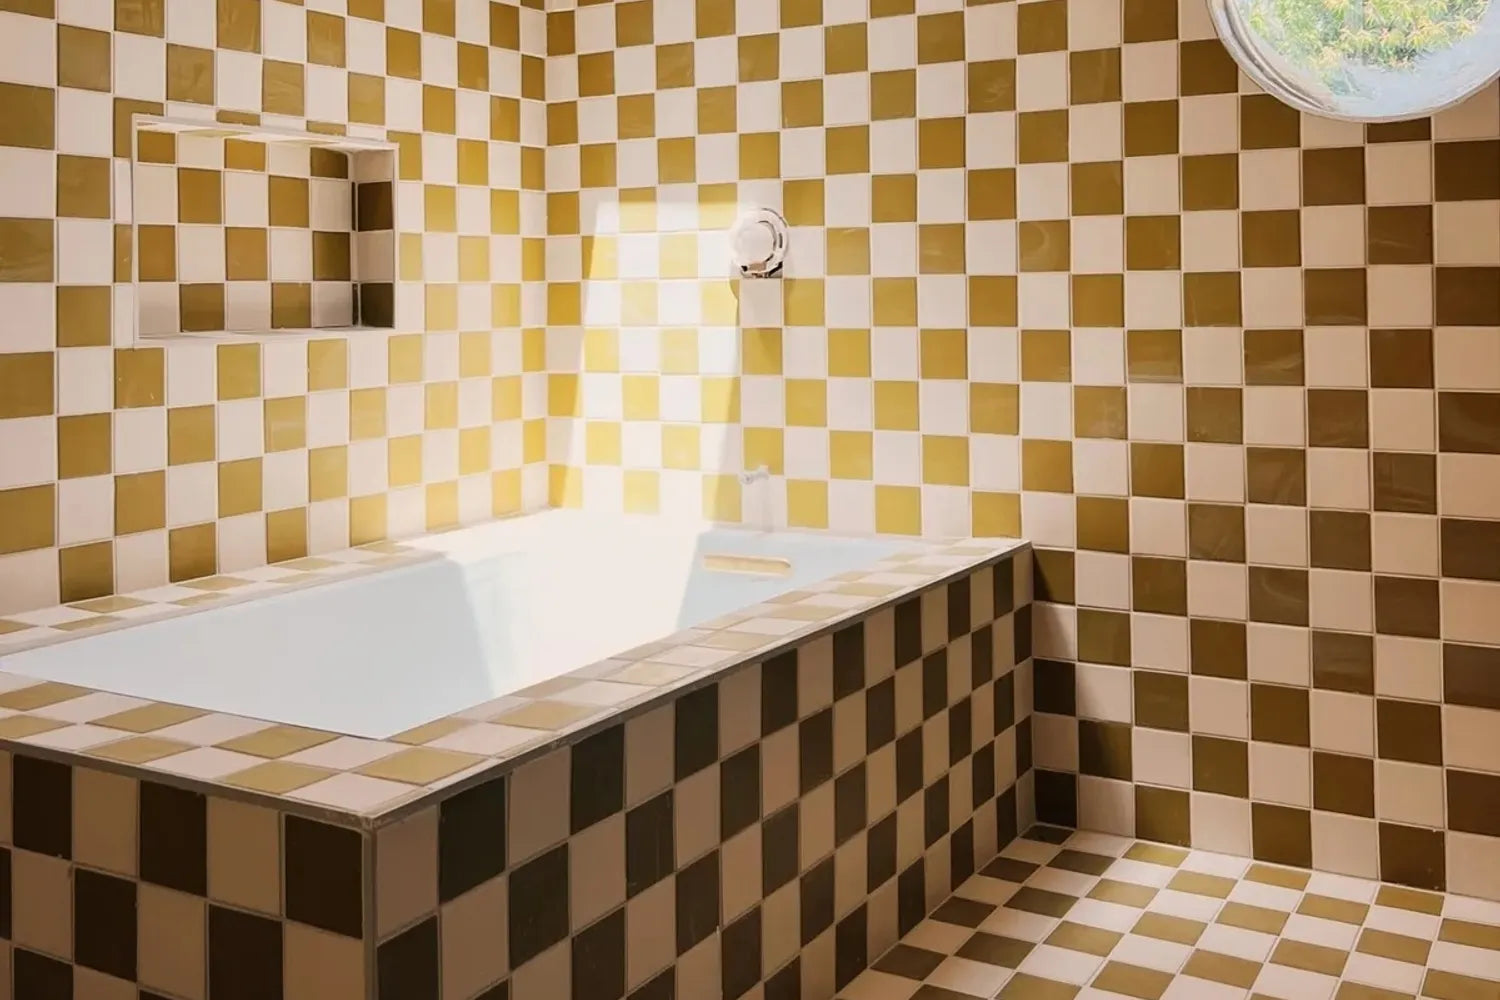
Tile: 4x8 Pyrite, Serilio Architectural MoldingNavy Blue | Design: W Design Collective | Image: Lauren Lee
How do you handle tricky cuts around outlets and odd angles?
"Cutting tiles around outlets and odd angles can be tricky. To simplify the process and reduce waste, I recommend creating a template using a piece of cardboard. Trace the area to be cut onto the cardboard, trim it to the exact shape, and then transfer the measurements onto the tile."
- Create a Template: Use a piece of cardboard to make a template of the tile.
- Trace and Trim: Trace the area to be cut onto the cardboard and trim it until you achieve the exact shape.
- Transfer to Tile: Transfer the measurements from the cardboard template onto the tile and mark the cutting lines with a china marker.

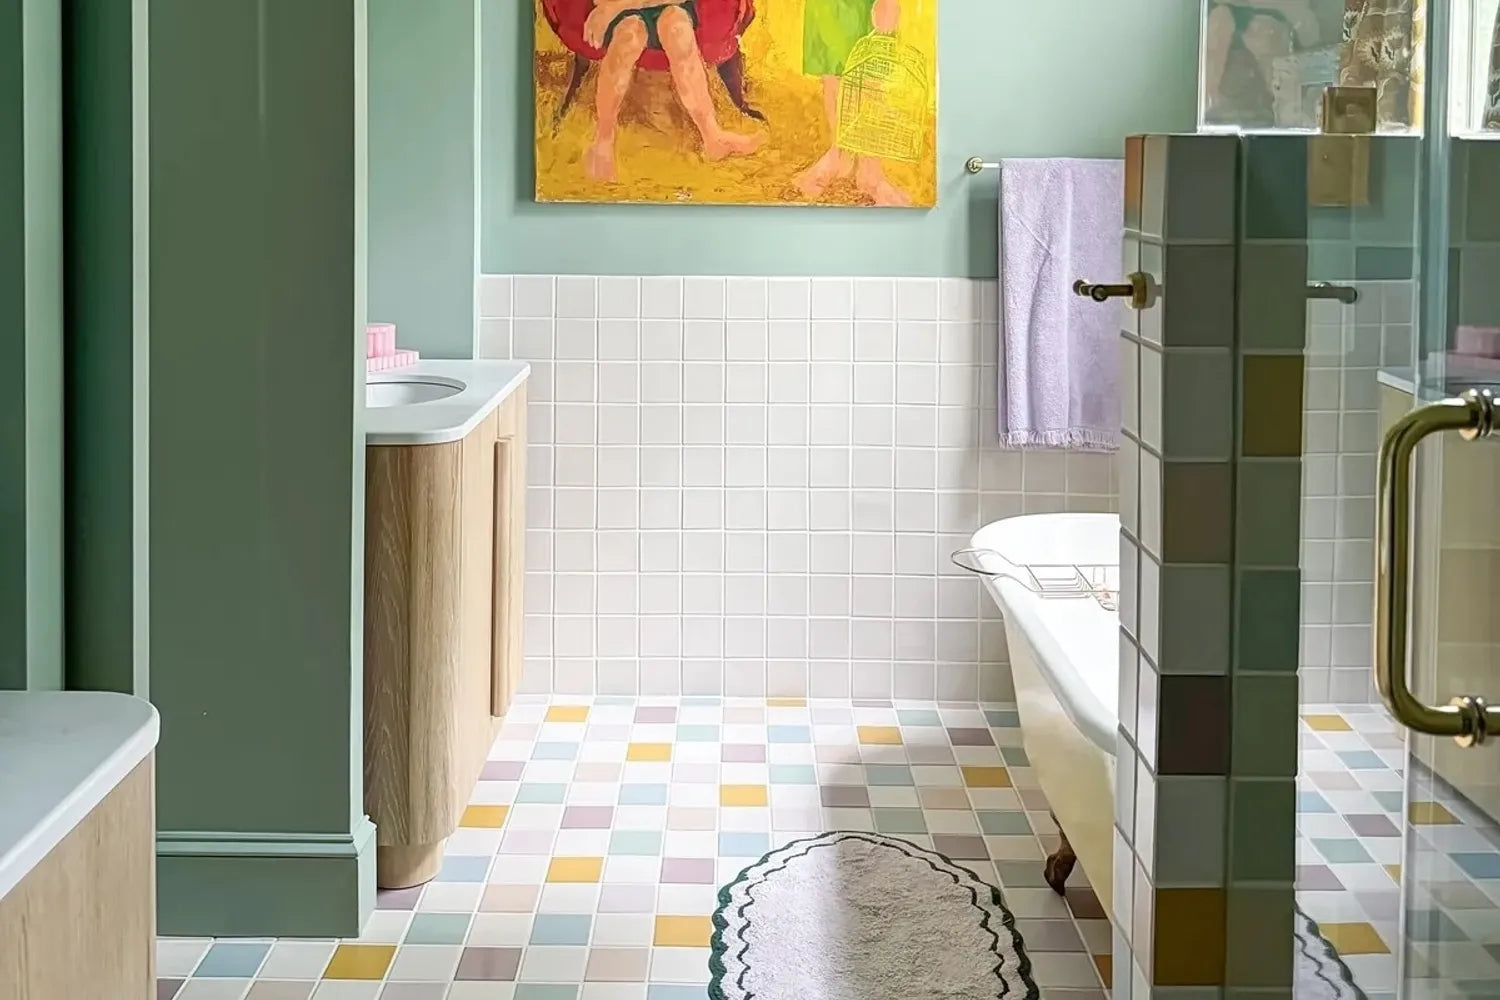
Tile: 1x6 Ivory Gloss | Design + Image: Jenavieve Belair
Any special tricks for grouting that result in a truly professional finish?
"Grouting might seem straightforward, but there are nuances that can significantly impact the final look," Martin explains. "Always test the grout on a spare tile to check for crazing. Consider using a grout release or sealer, especially on porous tiles, to prevent staining. Ensure the grout joints are clean and free of thinset residue for uniform color, and always, always follow the manufacturer's instructions."
- Test Before Grouting: Always test the grout on a piece of uninstalled tile before grouting the entire installation. This will show you if the grout causes any unwanted "crazing" (fine cracks) to become more noticeable.
- Consider Sealant: A grout release or sealer may be necessary to prevent staining, especially on porous tiles.
- Clean Joints: Ensure the grout joints are clean and free of any thinset residue. This will help achieve a more uniform grout color.
- Manufacturer's Instructions: Always read and follow the grout manufacturer's instructions.
- Cleaning: When cleaning up excess grout, avoid using excessive water. Make sure to remove all grout residue during the final cleaning.

Tile: Chaine Homme Peabody | Design: Petra Design | Image: Tory Williams
Choosing the Right Tile for Your Walls
Now that we've gleaned some wisdom from a true tile expert, let's talk about choosing the right tile for your walls. At Fireclay, we offer a diverse range of materials, each with its own unique characteristics and benefits. All of our tile is suitable for walls, so selecting your perfect tile comes down to personal preference.
Ceramic Tile
Our Ceramic Tile collection offers endless design possibilities with over 100 hand-mixed glaze colors in gloss and matte finishes, and a variety of shapes and sizes, including subway tile and specialty shapes like Star & Cross, Hexagon, Ogee Drop, and more. With two ceramic product lines to choose from, Original Ceramic Tile made in our California factory and Natural Press Ceramic Tile made in our Washington factory, you're sure to find the perfect ceramic canvas for your walls.

Tile: 3x9 Manzanita Gloss | Design: Draft + Design Co | Image: Jeremy Doddridge
Glass Tile
There’s nothing like the radiance of our stunning Glass Tile. Made in our Washington factory, it's the highest-quality USA-made glass tile on the market. With 24 gorgeous colors in gloss or matte finishes and 12 versatile sizes, our Glass Tile collection brings a touch of modernity and sophistication to any space.

Tile: 4x4 Falcon, Oriole, Carolina Wren + Rosy Finch Matte | Design: Linette Dai | Image: Tramp Studio
Glazed Thin Brick
If you're seeking texture, our Glazed Thin Brick offers a timeless appeal beloved by today's top designers. Hand-glazed in our California factory, it comes in two sizes and over 35 glaze colors, allowing you to create a warm and inviting ambiance through visual interest on your walls.

Brick: Absaroka | Design: Tricorn Black | Image: Zee Wendell | Installer: Will Tile
Handpainted Tile
For a truly bespoke look, our Handpainted Tile is a work of art. Each tile is handpainted to order by skilled artisans in our California factory, using time-honored techniques. With dozens of patterns and motifs, from Old World Traditional to sleek and modern like our Block Shop x Fireclay Tile collection, our Handpainted Tile adds a touch of artistry and personality to your walls.

Tile: 8x8 Elephant Star custom colorway of Sea Glass, Peacock, Morning Thaw, Tidewater + Pumice | Design: Loczi Design | Image: Christopher Stark
If you’re overwhelmed by the options available or unsure where to start, our friendly tile experts are happy to help with our signature free design assistance. Book a virtual consultation (totally free!) to chat with a rep, receive free samples, and find your perfect tile.
A Step-by-Step Guide to Wall Tile Installation
Ready to embark on your tile installation journey? Whether you're a seasoned DIYer or considering tackling a small project, this step-by-step guide will provide a solid foundation. Remember, proper preparation and attention to detail are crucial for a successful and beautiful outcome.
1. Prepare
Measure your space: Calculate the square footage of the area to be tiled. Add 10-15% extra for cuts and breakage.
-
Gather materials:
- Tiles (choose a type appropriate for your wall and desired look)
- Tile adhesive (mortar)
- Grout
- Spacers
- Notched trowel
- Tile cutter or wet saw
- Level
- Tape measure
- Grout float
- Buckets and sponges
2. Get Started
- Prep the walls: Ensure the walls are clean, dry, and free of any loose paint or wallpaper. Use a leveling compound to smooth out any imperfections.
- Plan your layout: Dry lay your tiles on the floor to visualize the pattern and make any necessary cuts. Consider starting from the center of the wall and working outward.
- Apply adhesive: Using the notched trowel, apply an even layer of tile adhesive to a small section of the wall, covering just enough area for a few tiles.
- Place the tiles: Firmly press each tile into the adhesive, using spacers to maintain consistent gaps. Use a level to ensure they are straight.
- Cut tiles as needed: Use a tile cutter or wet saw to cut tiles to fit around edges, corners, and fixtures.
3. Finishing Touches
- Let the adhesive dry: Follow the manufacturer's instructions for drying time.
- Apply grout: Press grout into the spaces between the tiles using a grout float, working diagonally.
- Clean up excess grout: Wipe away excess grout with a damp sponge before it dries completely.
- Seal the grout: Once the grout is dry, apply a grout sealer to protect it from moisture and staining.
Tips for Success
- Start small: Consider tiling a small area first, like a backsplash, to gain experience.
- Use the right tools: Invest in quality tools for better results.
- Be patient: Tiling takes time and precision. Don't rush the process.
Important Note: If you're tiling a shower or wet area, ensure you use a waterproof membrane behind the tiles to prevent water damage.
This guide offers a basic overview. Always refer to the specific instructions provided with your chosen tiles and materials. You can find Fireclay’s detailed installation guides here.

Ready to transform your space with the beauty of Fireclay Tile? Book a free Installation consultation today.
This service is currently only available in select California markets.