


Have you ever thought to braid your tile? Well with our Picket shape, you can! Our Installation Specialist, Dan is back with more tips and tricks to get your perfect Picket plait.
Please Note: Fireclay Tile always encourages using a professional tile installer to ensure the longevity of your installation due the unique complexities and subtleties that can be involved. We recommend using the methods outlined in the Installation Handbook of the Tile Council of North America, TCNA. If you are confident in your DIY skills, we offer the following advice.
1. Prepare your Dry Lay
With all pattern work, it's best to start by dry laying your braid pattern on top of your counter or floor. Dry-laying your tile will help you determine the level of variation within your order. Each batch is unique and can show variation in size, color, and/or sheen.
Use butcher paper to draw a template to represent the wall or backsplash you are going to set your tile on. You will need to use a framing square and straight edge to start. Below I have drawn a baseline in red pencil which could represent a kitchen countertop. The perpendicular line to the left, could be a wall, or inside backsplash corner:

2. Begin your Braid
The easiest way to begin your Picket Braid is to start with the tile oriented horizontally, stair-stepping upwards, with the tile pointing up to the right:

Tile Shown: Pickets in Turquoise
I recommend starting from the bottom of your install (at the baseline, or countertop) and working your way up. Space your dry-lay the same way you would your install.

Note: For the ease of illustration, I kept the tile grout joints tight together. Fireclay Tile recommends a 3/16" grout space.
Remember to pull your Pickets from several boxes so you can disperse your order's variation throughout your entire install space.
3. Keep Weaving
Continue the pattern you've created along your baseline working upwards to the right. Now you can begin to see where you'll have cut tile pieces in your install:

4. Measure Twice, Cut Once
Use a pencil and straight edge to mark the tile where cuts need to be made. Remember to measure twice-- you can only cut once. When you're ready, use a wet saw to make your cuts.

Pro tip: Depending on your skill level and spacing of your Picket tikes, it's best to make upper cabinetry tile cuts, as well as cuts around electrical outlets and light switch plates during your actual install.
5. Set Up for Success
When you've moved from dry-laying to actually setting the tile with thinset, use tile wedges to help space and adjust your grout joints to keep things looking even.

I used 1/8” spacers with this layout. The grout joints will finish around 3/16” because of the cushioned edges of the tile. The Picket shape is also slightly wider at the bottom than it is at the top. Fireclay Tile recommends a 3/16” finished grout joint.
Pro Tip: Grout your entire install at the same time. If you grout section by section, you could end up with grout color variation. Be sure to always test your tile and grout before using a contrasting grout color. Additional grout release or tile sealers may be needed to help reduce the grout from staining some glazes (especially those with crazing).
All the Right Angles
If you would like to try a different angle from your counter or wall, draw the intended angle on your butcher paper template and use that line to start your layout. For example, below I have drawn a 45-degree angle and have aligned a Picket tile to start my braid pattern:


Just like before, you can use your baseline to mark the tiles that will need to be cut and where.
Left Out
You don't have to braid your Pickets only to the right! If you're partial to the left side of things, just start your tile in the other direction as illustrated below and follow the same instructions:

We hope this helps as a start to laying your Picket braid pattern! For additional install information, please see our Ceramic Installation Guide.
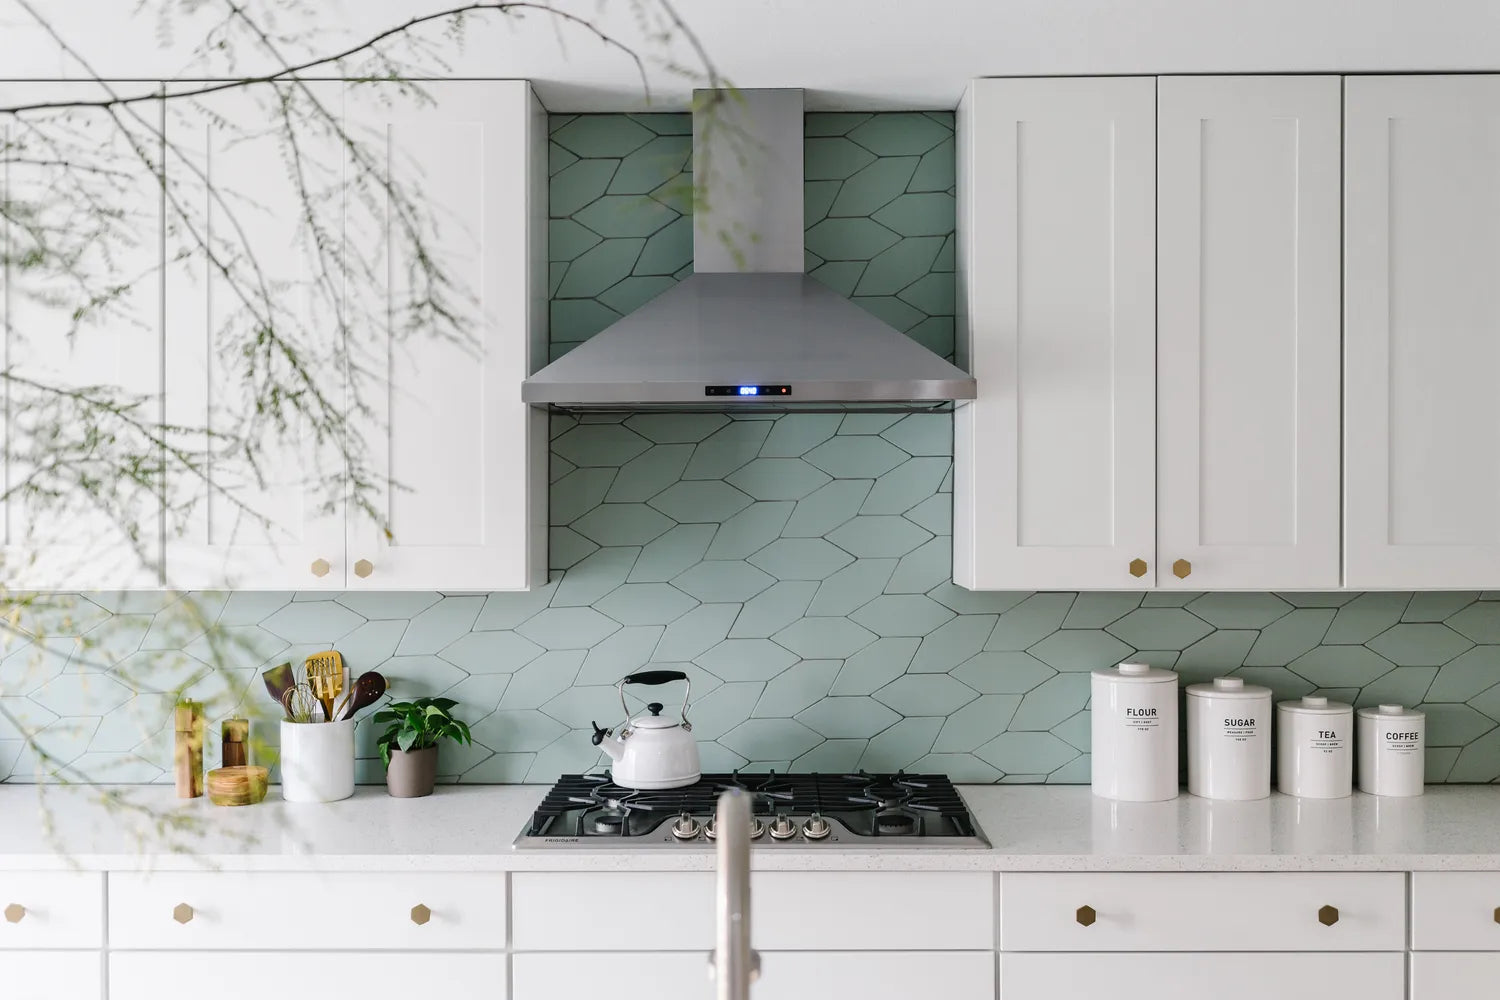
Picket Braid Installs We Love:

Tile Shown: Pickets in Sea Glass // Design: Matthew Walter Tsang // Images: Chase Daniels
Don't be afraid to twist a few different glazes together:
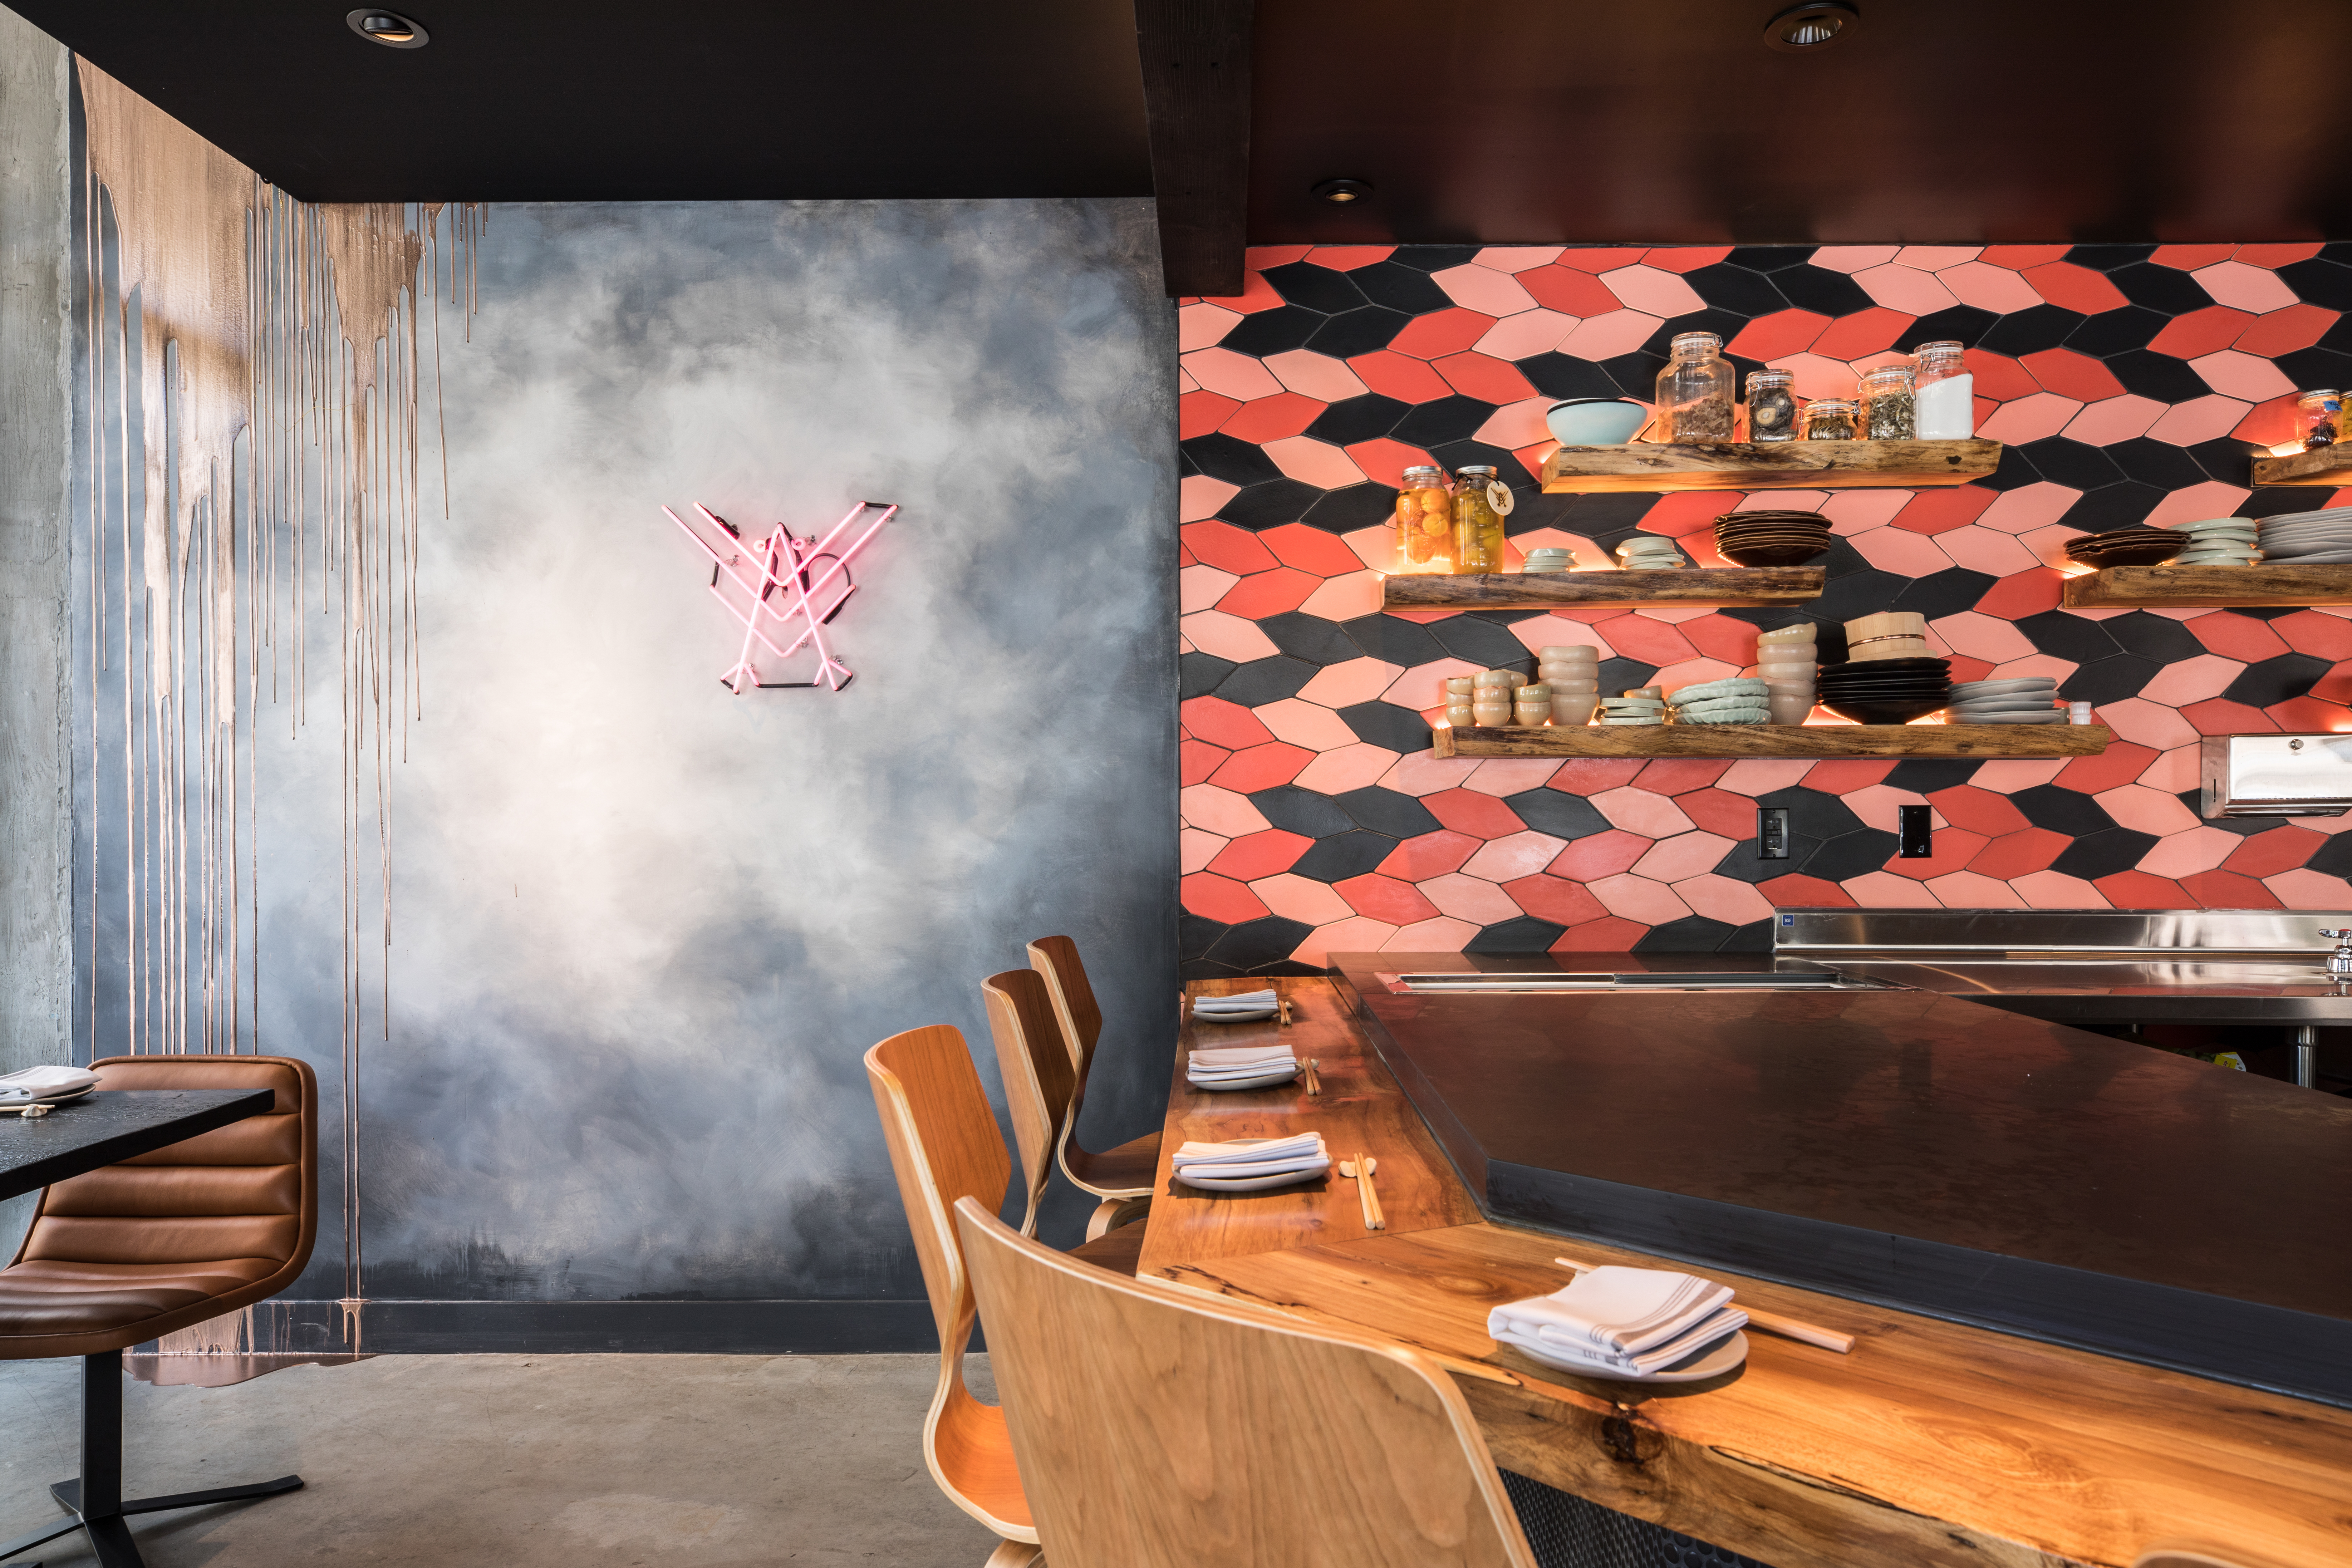
Tile Shown: Custom developed engobe pink and red Pickets with Pickets in Raven Matte // Design: Adam Tortosa // Images: Patricia Chang

Pro Tip: Fireclay Tile recommends mixing glazes that are all on the same clay body, either all recycled clay or all white clay.

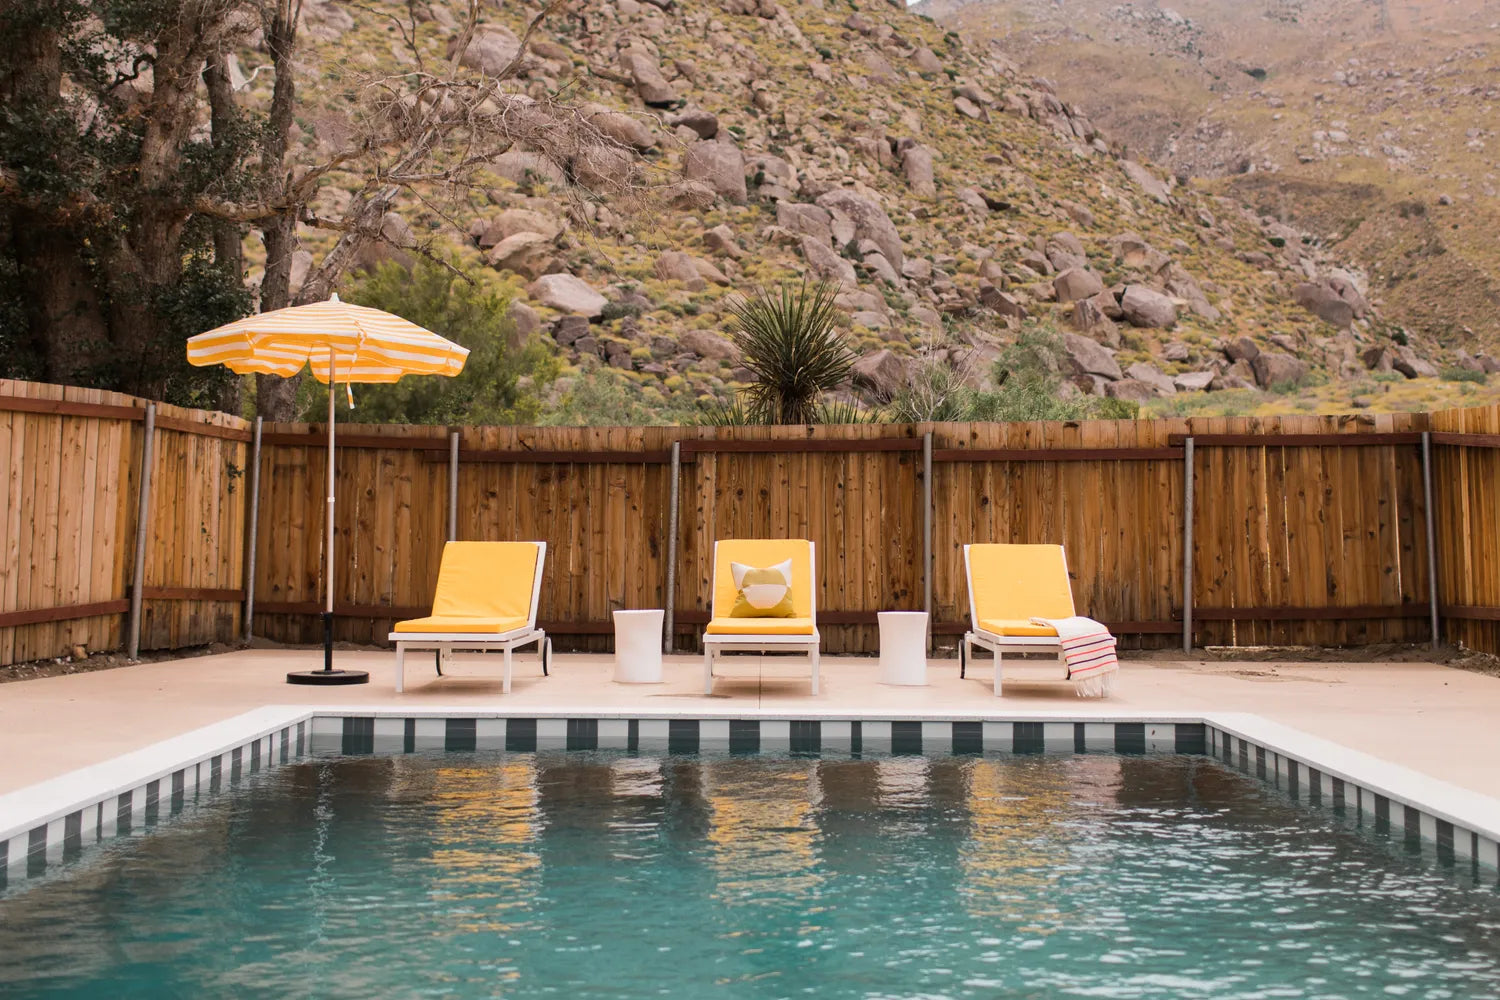
Pro tip: To achieve a look like the one above, try braiding Stilbite, Mesolite, and Pitch Black Pickets.
Have more questions about the Picket or Braid Pattern? Simply call, chat or fill out our Design Assistance Form and one of our talented Design Consultants will get back to you shortly.
